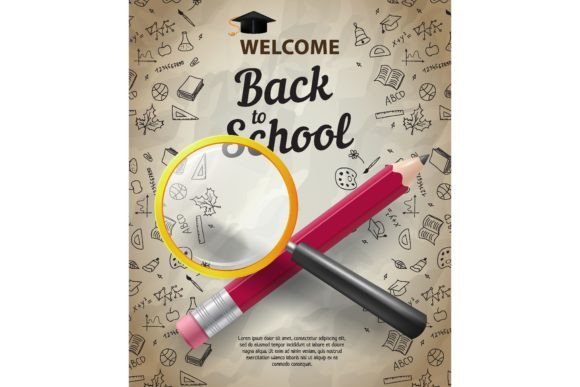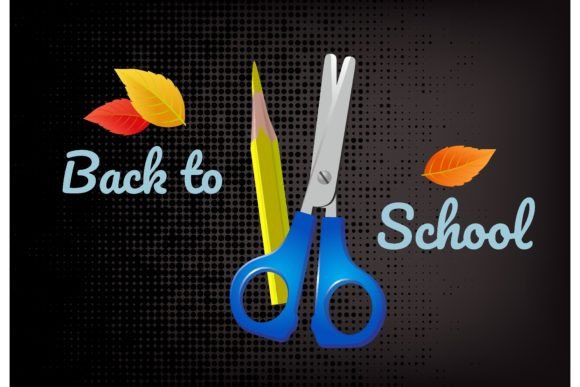
Back to School Lettering with Supplies
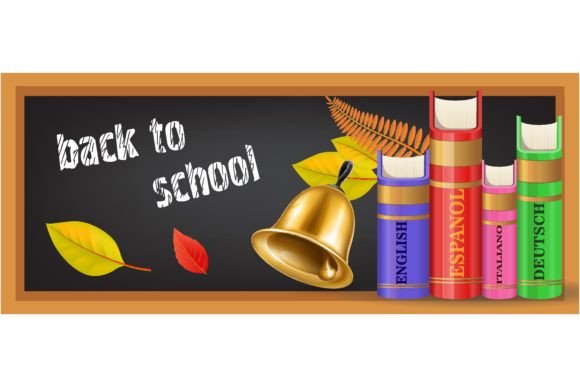
Back to School Lettering with Supplies isn’t just decorative—it’s functional storytelling. It’s the visual bridge between preparation and possibility: a hand-lettered “First Day!” beside a sketch of pencils, notebooks, and a backpack; a chalk-style “Welcome Back” wrapping around a bell and stack of textbooks; or elegant calligraphy spelling “New Year, New Goals” above a clean layout of school supplies. This style merges typography with tangible classroom and learning icons—making it instantly recognizable, warmly nostalgic, and highly adaptable for real-world creative work.
Why It Resonates—and Why It Converts
For designers, marketers, and educators, this theme works because it speaks two languages at once: emotion and utility. Parents see reassurance. Students feel anticipation. Teachers recognize readiness. When you pair lettering with authentic supply imagery—a well-worn backpack, a brass school bell, a spiral notebook with handwritten notes—you ground creativity in shared experience. That authenticity builds trust, especially in promotional materials where clarity and connection matter more than polish alone.
Real Applications, Real Impact
This isn’t limited to August calendars or classroom doors. Back to School Lettering with Supplies thrives across formats—each with its own rhythm and requirements:
- Leaflets & Brochures: Use clean, legible typed text for pricing or event details (“Camp Registration Opens July 15”), then anchor it with expressive calligraphy for the headline (“Ignite Their Curiosity”). Pair with subtle line-art icons: a pencil crossing a ruler, a backpack with a monogrammed tag. Keep margins generous and hierarchy clear—readers scan fast.
- Invitations: For open-house nights or parent-teacher kickoff events, try a warm serif script for names (“You’re Invited”) and crisp sans-serif for logistics. Add a small, centered bell icon beneath the date—no explanation needed. Consistency here (same font family, same icon weight) signals professionalism without rigidity.
- Posters & Banners: Go bold but intentional. A large-scale “Ready. Set. Learn.” in layered lettering—with each word slightly offset and filled with tiny supply motifs (eraser shavings, paperclip shadows, notebook lines)—creates depth without clutter. Test readability from 6 feet: if the message doesn’t land in under 3 seconds, simplify.
Style Choices That Serve Your Goal
Not every project needs flourishes—and not every audience responds to them. Consider your user’s context before choosing a direction:
- Typed text delivers speed, accessibility, and scalability—ideal for digital ads, email headers, or printed handouts where quick scanning matters most. Use a friendly but neutral typeface (like Montserrat or Lato) with tight tracking and ample line height. Add one visual anchor: a single backpack outline in the corner, or a bell icon replacing a bullet point.
- Calligraphy adds warmth and human presence—perfect for boutique tutoring services, homeschool co-ops, or indie stationery brands. But avoid over-elaboration. A modest copperplate “Fall Forward” with light ink bleed and a minimal pencil sketch beside it feels intentional, not indulgent.
- Hybrid approaches often hit the sweet spot: a strong headline in custom lettering, body copy in clean type, and consistent supply-based accents throughout (e.g., all bullets shaped like tiny rulers, or section dividers that mimic notebook margin lines).
Who Uses This—and How They Adapt It
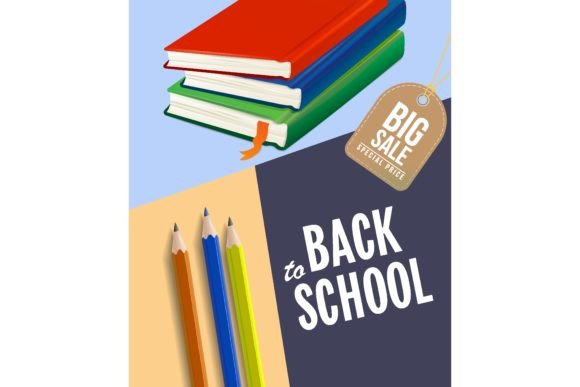
A freelance graphic designer might build a branded Back to School Lettering with Supplies template pack for Canva—offering three color palettes (crisp navy/cream, energetic teal/orange, muted sage/taupe), each with matching icons and editable text layers. An educator creating a welcome bulletin board swaps out the default clipart for original line drawings of supplies she’s actually using—then letters the title by hand, scans it, and prints at scale. A small bookstore running a “Backpack & Book Bundle” sale uses the same bell-and-backpack motif across Instagram posts, shelf talkers, and receipt tape—keeping the lettering style consistent but adjusting weight and size per medium.
Practical Tips for Clarity and Cohesion
Start with constraints—they fuel better decisions. Ask: What’s the *one thing* the viewer must understand? Is it a discount? A deadline? A new program name? Let that dictate your largest typographic element. Then layer meaning—not decoration. A bell icon next to “First Bell: 7:45 AM” reinforces timing. A backpack beside “Free Supply Kit with Enrollment” signals value. Avoid adding elements that don’t support that core message.
Test contrast early. Light gray lettering on a pale yellow background may look soft on screen—but vanish when photocopied. Print a draft. View it sideways. If the hierarchy blurs, adjust weight, size, or spacing—not just color. And remember: consistency doesn’t mean repetition. You can use the same bell motif across five different pieces while varying its size, placement, and interaction with text—so long as its style (line weight, curvature, simplicity) stays anchored.
Ideas That Spark Action—Not Just Inspiration
Try these grounded starting points:
- Create a “Supply List Poster” using only lettering and negative space—spell “Pencils” so the ‘P’ doubles as a pencil silhouette, “Eraser” with the ‘E’ formed from eraser shavings. No extra graphics needed.
- Design a series of social media tiles (9:16) where each features one supply + one action verb in bold type: “Pack. Plan. Prepare.” Each tile uses the same font, spacing, and bell icon—but rotates the supply image (backpack, notebook, lunchbox).
- Develop a printable “First Week Checklist” where headings (“Meet Your Teacher”, “Find Your Locker”) are in warm calligraphy, and check-boxes are drawn as tiny backpacks—filled in with a dot when complete.
Back to School Lettering with Supplies works best when it serves a purpose first and looks great second. Whether you’re designing for a district-wide campaign or a neighborhood tutoring flyer, let function guide form—and let the supplies do some of the talking. The bell rings once. Your design should make sure it’s heard.